Do you hear about one-day projects? 24 hour turnarounds? Things to do in a weekend?
Have you ever looked at the instructions, and the expenses and decided that it is way too expensive, or that there is no way you could ever finish the job in the time suggested?
I know I have, on many occasions. So many things I could have accomplished if I had twice the time allotted. Or twice the money suggested.
This project is slightly misleading, because the most expensive part was actually the cheapest. On Saturday we took two trips to Harrisonburg, firstly for a wedding and the second for dinner. On the way out the second time, I noticed sitting in a driveway a large piece of furniture with a sign saying “Free You Haul!” This was to be the cornerstone of our Sunday activities.
We’ve been meaning to clean up “the green room” for a while, it is where a lot of our stuff is stored, it is also where my desktop is, and was a work room before we realized there was nowhere near enough space. We’ve also been looking for more storage options, because while bookshelves are good, they aren’t the be-all and end-all of our problem. This item, which turned out to be a buffet, seemed ideal.
And so that is how my Sunday morning started. We got in the truck and drove the mile or so to the place, were excited to find it still in situ, and loaded it. We drove home, unloaded, and assessed.
The two end doors were off, and needed to be reattached (we pulled them right back off again after we started actually planning..). There was putty or something along the top and the sides, which appears to be filling in a design, but it would have been too time consuming to take it all off and so we elected to sand it smooth and just paint it, like the rest.
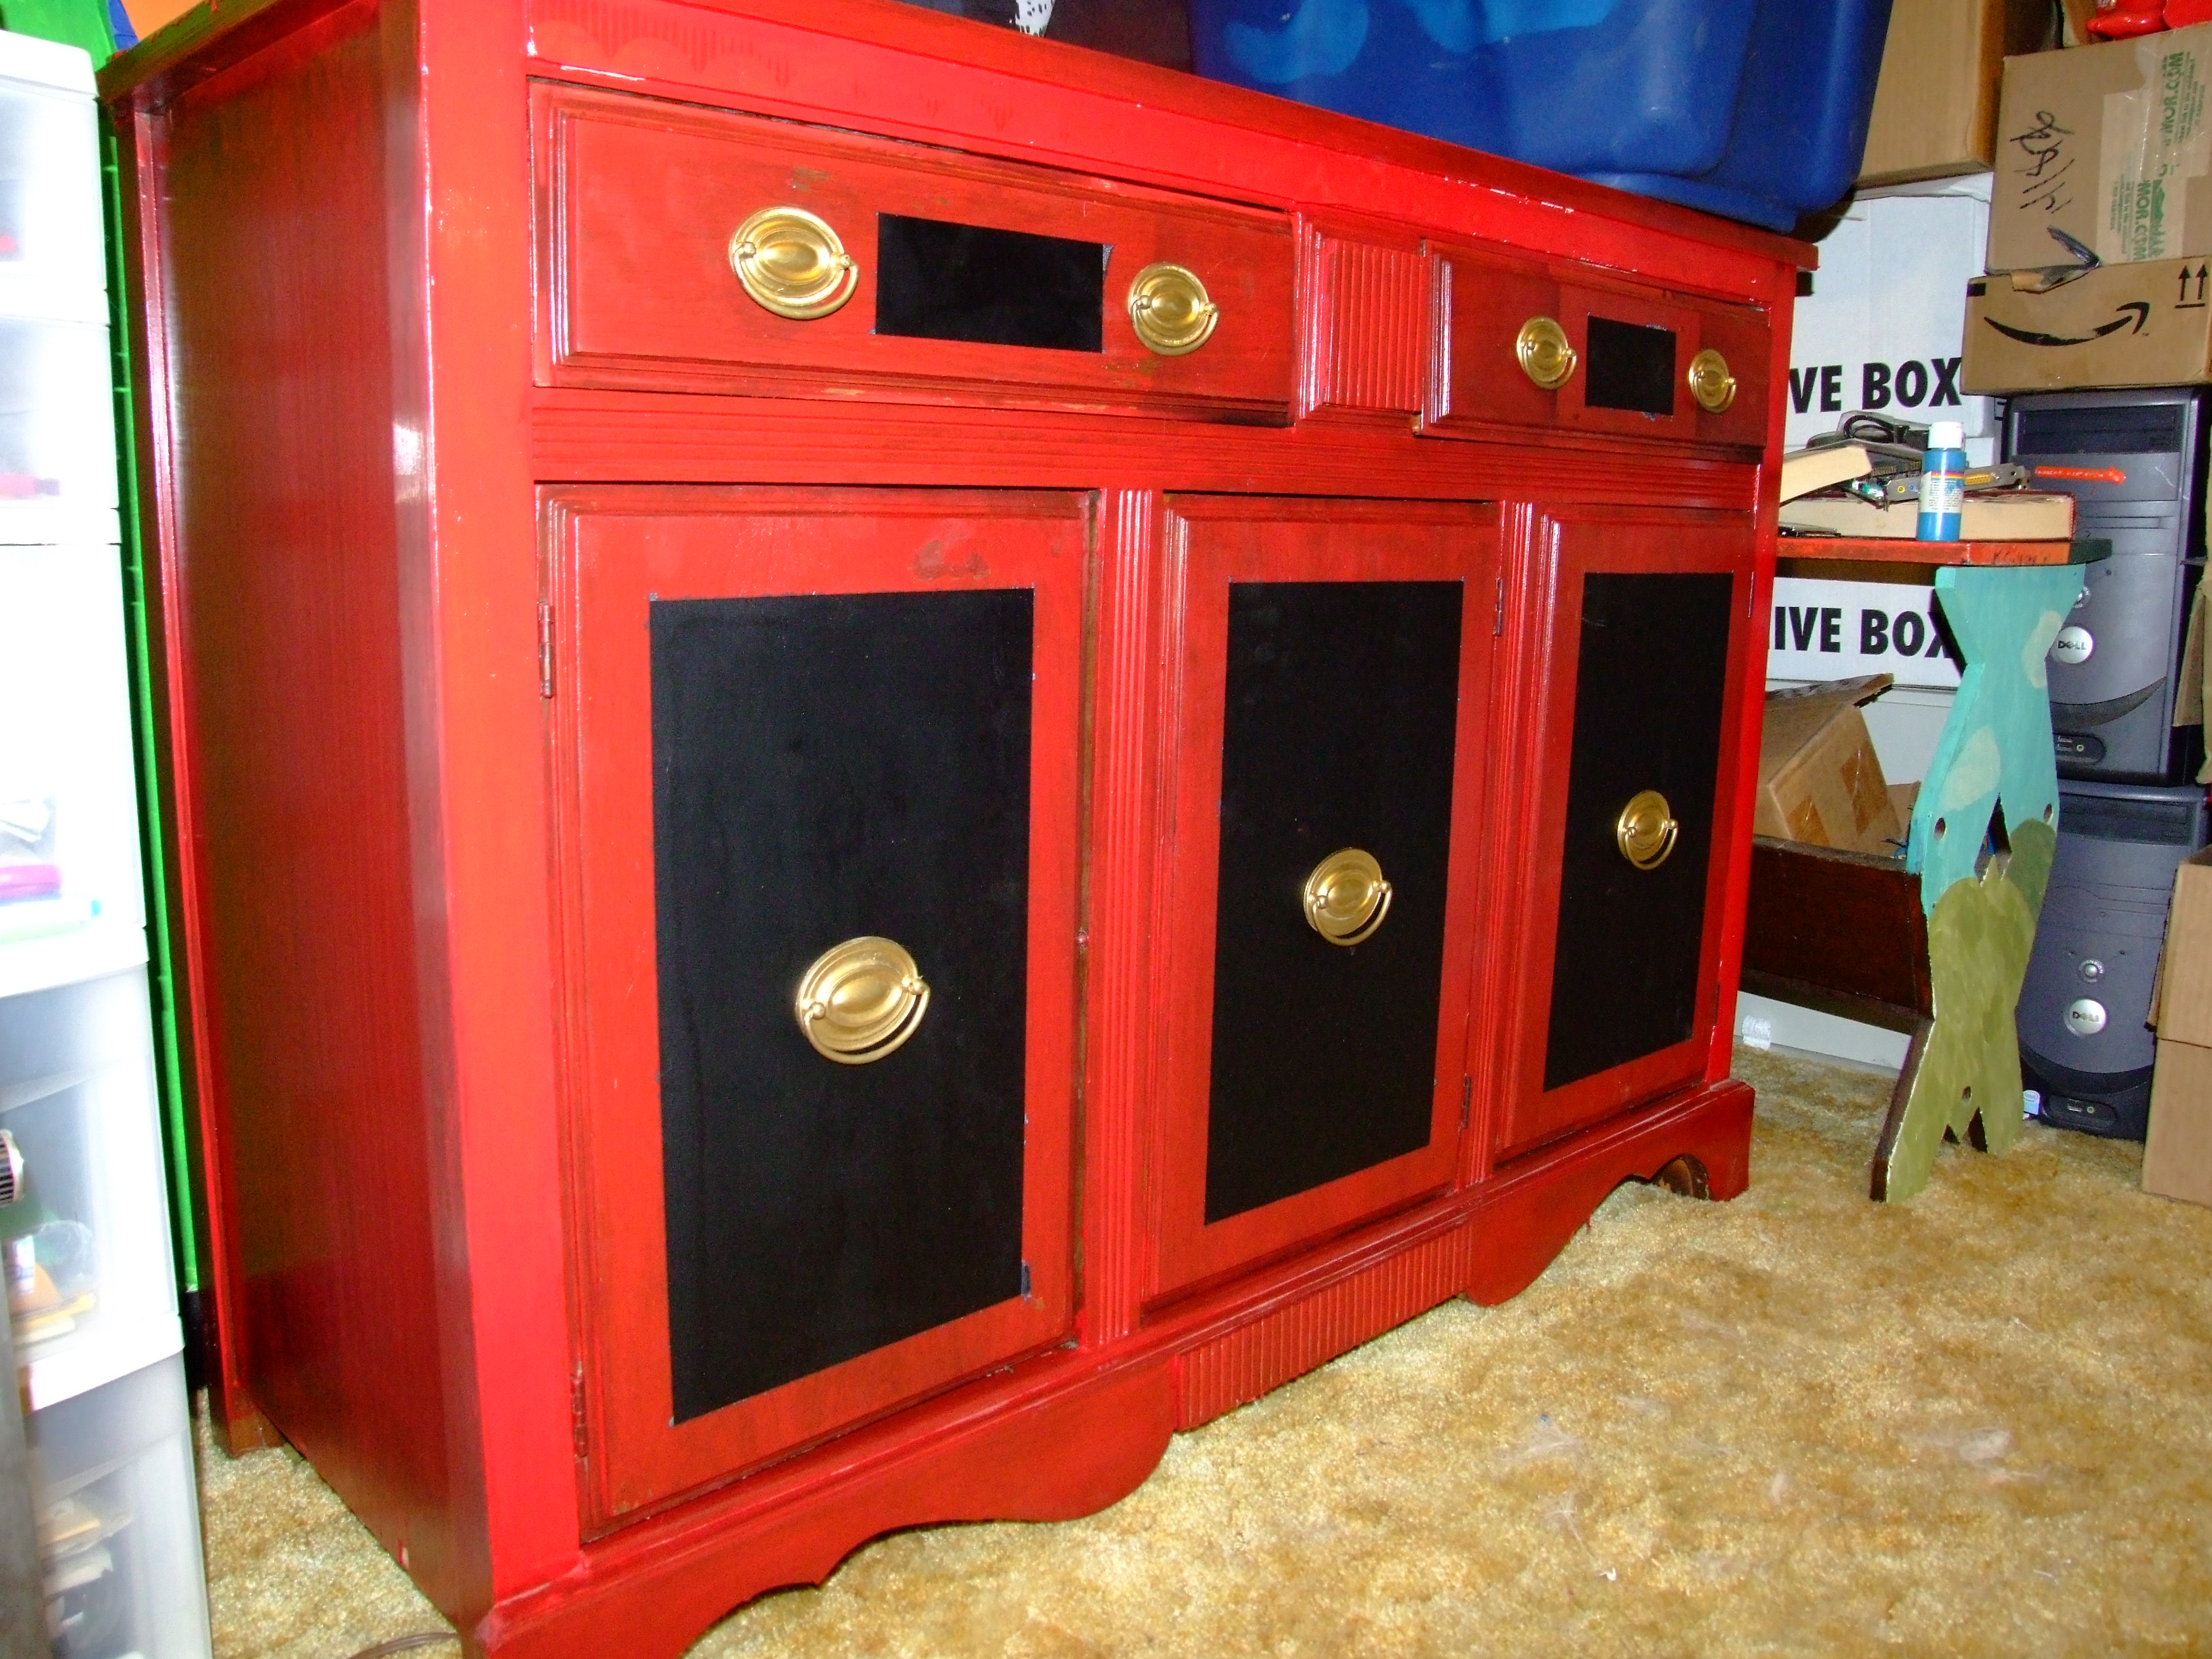
 This is what we started with. Two drawers, and three doors to a long combined shelf. According to the stencil on the back it is made of Walnut. It was light enough (until we painted it) and in relatively good condition. We presume it to be fairly old, as the center and right-hand doors don’t seem to fit quite right. We may never know!
Anyway, this is what we started with. We began by eating lunch. An excellent way to start, in my opinion! We then headed to Harrisonburg where we visited Walmart (Crash needed food) and then Home Depot where we purchased unto ourselves a quart of red paint ($14), a spray can of chalkboard paint ($5) and a roll of masking tape ($3). Total cost was approx. $24, including tax.
The first job was to sand down. There was a layer of varnish, easily taken care of. We also pushed back the layer of…whatever it was…to about where the fascia was showing through in most places.
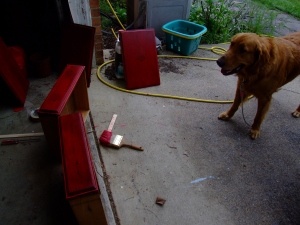
Next Kelly painted the doors while I started painting the top surface. Crash hung out and supervised.
With one layer of paint on, we moved inside to start working on cleaning the room.
Two hours go by…
We came out to check how it was going. It was supposed to take around two hours to dry, and parts of it needed a second coat. While Kelly was working on that, I masked off the doors and broke out the chalkboard paint. Kelly wanted blackboard surfaces to write on so she could write lists of what was in the drawers and such, and be able to rub things off and such without having to completely relabel things, or be crossing things off on paper and being messy. She has suggested the same thing for a future kitchen, but the idea of chalk dust and food in the same vicinity makes me a little uneasy. This will, however, give me a chance to see how it works in practice (without the food!) and be able to make a more educated choice.
Now, the chalkboard paint is a spray on. It dries to a point of touch-up after 20 minutes (which we utilized), and after 24 hours is safe to draw on. Something to keep in mind if you are planning it for a child’s room, or similar. Don’t give them the chalk until the next day! For us, we didn’t have any chalk and so Kelly was planning to pick some up while at work, which meant it would be around 22 hours anyway.
Around this time we organized food. Two medium pizza’s from Dominos, please! Good times. I finished mine on Monday.
We touched up the doors and finished clearing a path in the green room to where we wanted to put the thing. The plan was to put it under the window (where we had storage boxes and such).
Crash approved.
Once the chalkboard paint was finished (another 20 minutes later), we reattached the handles and then reattached the doors.
We gave the other paint a few more minutes to dry while we checked clearance for moving it inside.
Now in place in it’s new home, it actually looks pretty good. The plan, for now, is to use it as an art/storage cabinet where it won’t be seen by a lot of people. If it moves to a more public location after we move then we may need to consider at least touching up in places that we rushed.
Looking at the photo time stamps, we took about 3.5 hours from arriving home with the supplies (we picked the thing up at about 11 in the morning, arrived home with paint and such at 2:45. We moved it into the house around 8:10-8:15).
Not bad, really..


This is a great one day project and well written. I loved Crash’s involvement and teh result is stunning. Sure beats my childhood memories of assisting Dad on a one day installation of fiberglass to the attic floor….crawling around on our hands and knees for hours. The itching started around 9 pm and went on forever. (fiberglass was new in the 50’s and there were no warnings included)